
Equipment note
Best Trail Running Shoes for Men

September 7, 2026
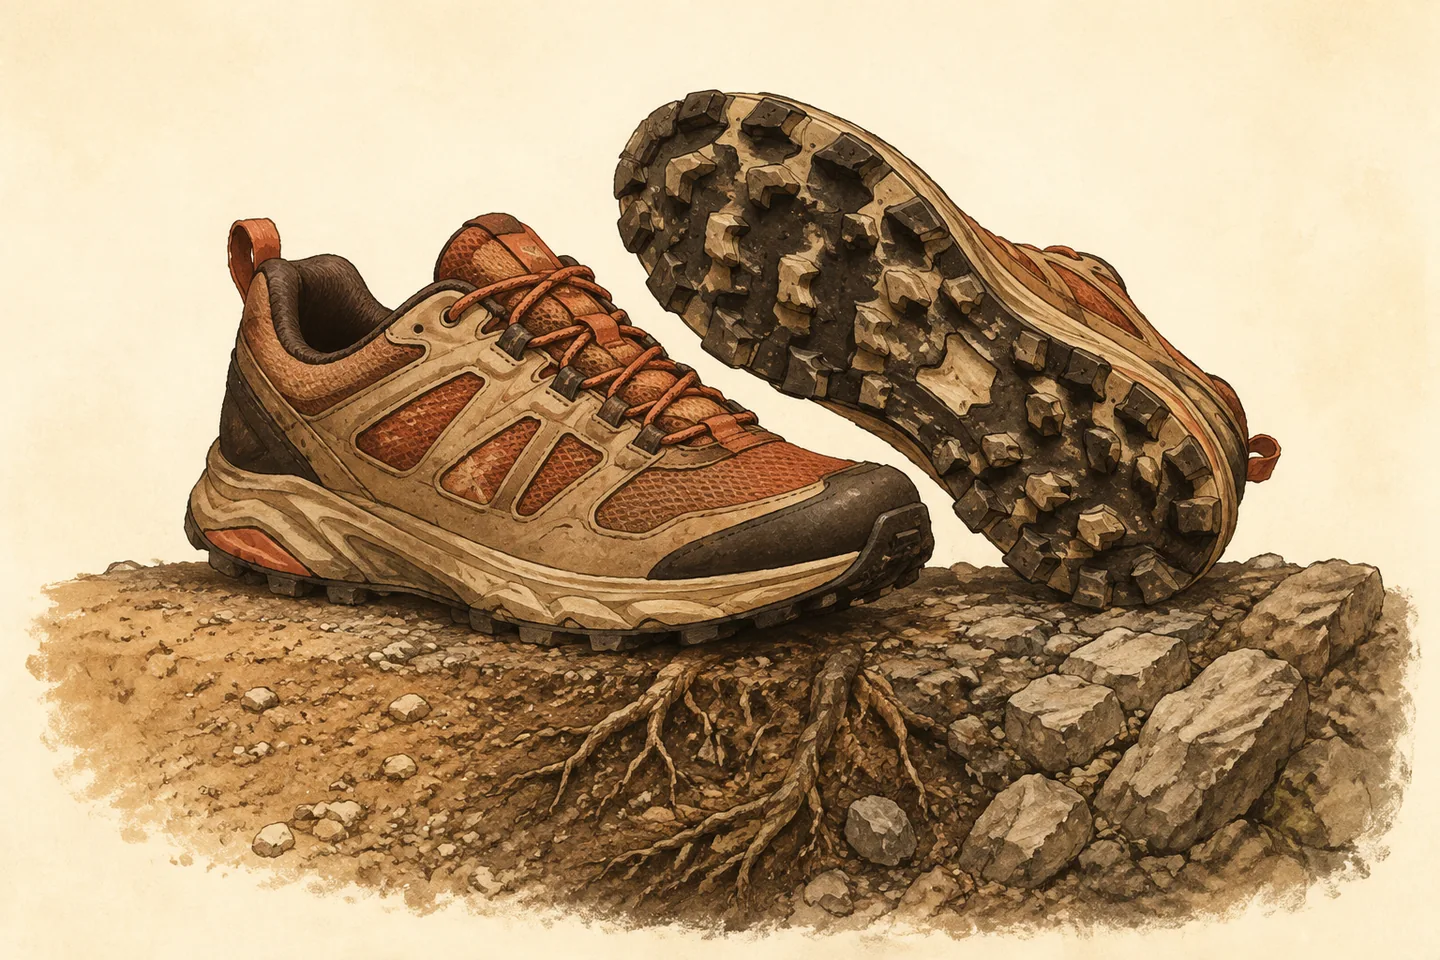
The best trail running shoes for men suit your usual terrain, hold your feet securely and remain comfortable while moving. Start with those requirements before comparing cushioning, tread or weight. A shoe designed for deep mud can be awkward on firm paths; one suited to gravel may struggle on soft ground.
This guide explains how to choose by fit and conditions, without product rankings. Think about the routes you run regularly, including any pavement between your door and the trail, rather than buying for an occasional mountain outing.
Match the tread to the terrain
Trail shoes usually have more pronounced tread than road shoes, with uppers that offer some protection against debris and abrasion. These features involve compromises. Deep lugs may suit soft earth but feel cumbersome on hard surfaces. Extra protection can add weight or reduce flexibility.
Routes can include boardwalks, formed paths, loose stones and steep sections within a single outing. The New South Wales national parks service illustrates this variety. Its trail-running guidance covers different types of track. Identify the surface that dominates your route and the sections where secure footing matters most.
- Dry, compact paths: look for moderate tread and a sole that bends comfortably as you walk and jog. Check how it feels on any hard access paths.
- Loose gravel and woodland: prioritise a secure heel and midfoot. Your foot should not slide sideways inside the upper when the ground slopes.
- Mud and wet grass: consider deeper, widely spaced lugs that leave room for mud to clear. Accept that this tread may feel less comfortable on pavement.
- Rocky trails: consider underfoot protection and a reinforced toe area. Check that the shoe still lets you place your foot accurately.
No tread guarantees grip on wet roots, polished stone or ice. Slow down when the surface changes and walk uncertain sections. The national park service discusses hazards beyond footwear. Its backcountry safety guidance puts slippery rocks and changing conditions in the wider context of route safety.
Check fit while moving
Men’s sizing is a starting point, not a description of your foot. Width, instep volume, heel shape and toe space matter alongside length. Try both shoes with the socks you intend to use. Compare sizes by how they hold your feet rather than assuming your usual size will fit.
The heel should stay in place without pinching. The midfoot should feel held, with no concentrated pressure beneath the laces. Your toes need room to spread and should not touch the front when you walk down an incline. Check both feet, since a comfortable fit on one does not establish a good fit on the other.
Walk, bend your knees and jog briefly if the fitting space permits. Use a slope or steps where available. Notice heel lifting, pressure across the toes and fabric folding against the foot. A shoe that feels comfortable standing still can behave differently during movement.
A roomy toe box does not require a loose heel. If you must pull the laces painfully tight to prevent sliding, try a different shape or width. Adjusting the laces may improve an otherwise suitable fit, but it cannot create missing toe room or correct a badly matched upper.
Balance cushioning and protection
Separate softness from protection. A soft midsole may feel pleasant on firm paths, while a protective layer can make individual stones less noticeable. Neither tells you whether the whole shoe will feel controlled on uneven ground. Compare how the shoe behaves as you move, not simply how soft it feels under your thumb.
A lower or firmer platform may give a clearer sense of the surface. More cushioning may suit your preferences on hard ground, but check for unwanted movement when turning or stepping sideways. There is no single cushioning level that suits every runner and route.
Heel-to-toe drop describes the difference in sole height beneath the heel and forefoot. If a new pair feels substantially different from your existing shoes, introduce it on short, familiar outings. Avoid combining unfamiliar footwear with your longest or most difficult route.
Flex the forefoot gently and consider the terrain. A flexible shoe can feel comfortable on smooth paths; a more protective construction may be useful among sharp stones. Protection should not come at the cost of a fit that feels restrictive from the outset.
Choose an upper for ordinary conditions
Inspect the toe guard, seams and fabric around the forefoot. Reinforcement can be useful where you frequently catch stones or brush against rough ground. Check that these sections do not press against your toes as the shoe bends.
More open mesh offers ventilation but allows water and fine debris through. A waterproof membrane may suit cold, wet conditions, yet water can still enter over the collar. Think about shallow puddles, prolonged rain and stream crossings separately: keeping splashes out is different from managing a soaked shoe.
Choose for the conditions you encounter most often. For mixed routes, comfortable fit and an adaptable outsole may be more useful than a specialist feature you rarely need. If your routes differ sharply between seasons, recognise that one pair may involve substantial compromises.
Compare candidates methodically
Write a short description of your regular run before trying shoes: for example, firm woodland paths with roots, a muddy stretch and some pavement. Add your main fit requirement, such as more forefoot width or a secure narrow heel. This keeps the comparison focused.
- Check the fit first. Reject shoes that pinch, let the heel lift repeatedly or crowd your toes on a slope.
- Compare movement. Walk and jog in each pair using the same socks. Notice sliding, pressure and how naturally the forefoot bends.
- Inspect the outsole. Match lug depth and spacing to your usual ground rather than choosing the most aggressive tread.
- Check practical details. Make sure the tongue sits comfortably, the laces stay clear of the ground and you can follow the care instructions.
A shoe cannot offer maximum flexibility, deep tread and substantial protection without trade-offs. Keep your priorities short enough to compare meaningfully. If two pairs fit well, favour the one whose compromises matter least on your regular route.
Test the shoes and prepare the route
Begin on a short, familiar trail with an easy way home. Check for rubbing, toe contact on descents and sideways movement on uneven sections. Stop to adjust the laces if needed. Repeated hot spots or slipping deserve attention before you attempt a longer outing.
Afterwards, remove loose debris and follow the shoe’s cleaning and drying instructions. Inspect the tread and upper for damage. Notice changes in grip or fit over successive outings rather than relying on a fixed replacement date.
Footwear does not settle route decisions. Check the forecast and local warnings, carry water and navigation appropriate to the outing, and tell someone your plans for remote routes. The same park service offers planning advice. Its hiking-safety checklist provides a starting point for preparing beyond footwear.
Give other trail users space without trampling vegetation, as the New South Wales parks service advises. Its practical trail-running recommendations include trail courtesy and care for the surroundings. Walk narrow or slippery sections when necessary, and turn back if conditions exceed your preparation.